Got customer payments coming in? QuickBooks Online has multiple ways to accept and record them.
One of the biggest challenges small businesses face is managing a steady cash flow. Keeping income ahead of expenses is a constant balancing act. QuickBooks Online can help. With easy-to-use forms and a convenient mobile app, it helps you track and deposit incoming payments with ease.
Do you ever receive instant payments for certain products or services? Ever need to record a sale on the go—both for your records and your customer’s? Or maybe you send out invoices and want to ensure payments are accurately logged once they come in. QuickBooks Online has you covered in all these scenarios. Plus, it offers automation tools that speed up the payment process—so you can get paid faster and focus on growing your business.
Let Customers Pay Online
If your business sends invoices for products or services, QuickBooks Online makes it easy to record customer payments. While you can manually enter payments, there’s a faster, more efficient option: QuickBooks Payments. This built-in merchant service lets you accept credit card and bank payments electronically—helping you get paid quicker and streamlining your cash flow.
Once QuickBooks Payments is set up in QuickBooks Online (contact us if you need help), your invoices will include integrated payment options for credit cards and electronic checks. Each invoice will feature a payment button, allowing customers to easily enter their payment information. You’ll be able to track when an invoice is viewed, paid, and deposited. Simply open your list of invoices and click on one to view its details. A timeline panel will slide out from the right side, showing the invoice’s history and status. Plus, you can opt to receive notifications for invoice activity.
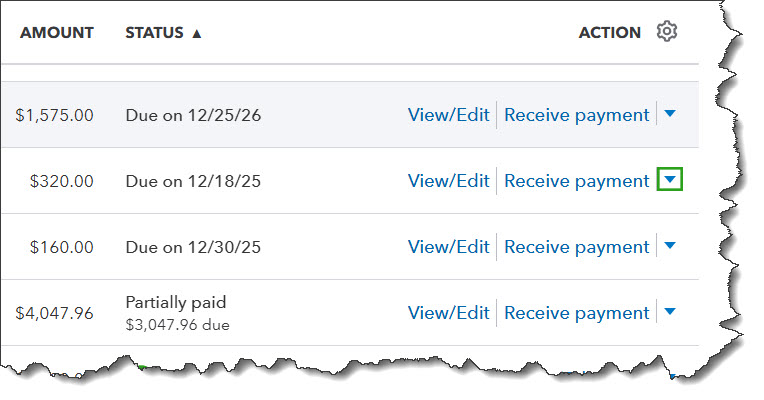
If you prefer to record payments manually, find the unpaid invoice in your list and click the Receive Payment link at the end of the row. This opens the Receive Payment screen, where you can fill in any missing details and save. You can also find the same link on the invoice screen itself or from the Invoices page (Sales > Invoices).

You can receive payments manually in QuickBooks Online from an invoice itself or from the Invoices page.
There’s no cost for setting up a pay-as-you-go account in QuickBooks Payments. There are only per-transaction fees:
● ACH bank payments are 1%.
● It’s 3.5% if the payment comes in through an invoice (Apple Pay, Google Pay, credit cards, etc.) or if the payments are keyed in.
● If you swipe a card, you’ll pay 2.4%.
There’s also a $0.30 fee per transaction. Transaction fees are slightly lower if you pay $20 per month. Payments that come in before 3 p.m. PT should be in your account the next business day.
Accepting Payments Through GoPayment
To take payments while you're on the road, you’ll need a free mobile card reader from Intuit that connects to your smartphone. It supports tap, chip, and digital wallet payments. You can also manually enter card details (see above rates). To process transactions, you’ll need to download the GoPayment app, available for iOS and Android. The app lets you add product names, prices, and images to make checkout faster and easier. Multiple layers of security are in place to help protect your data during mobile transactions.
Receiving Instant Payments
Sometimes, you’ll receive payment right after delivering a product or service. In these cases, QuickBooks Online allows you to create and provide a sales receipt on the spot. Just click + New in the upper left corner, then select Sales Receipt in the Customers section. The form that opens will look similar to an invoice or estimate. Choose the customer in the upper left corner, and fill out the remaining details as you normally would. When you're finished, click Save and send to email the receipt. You’ll have the option to preview it before sending and to print it.
The Undeposited Funds Account

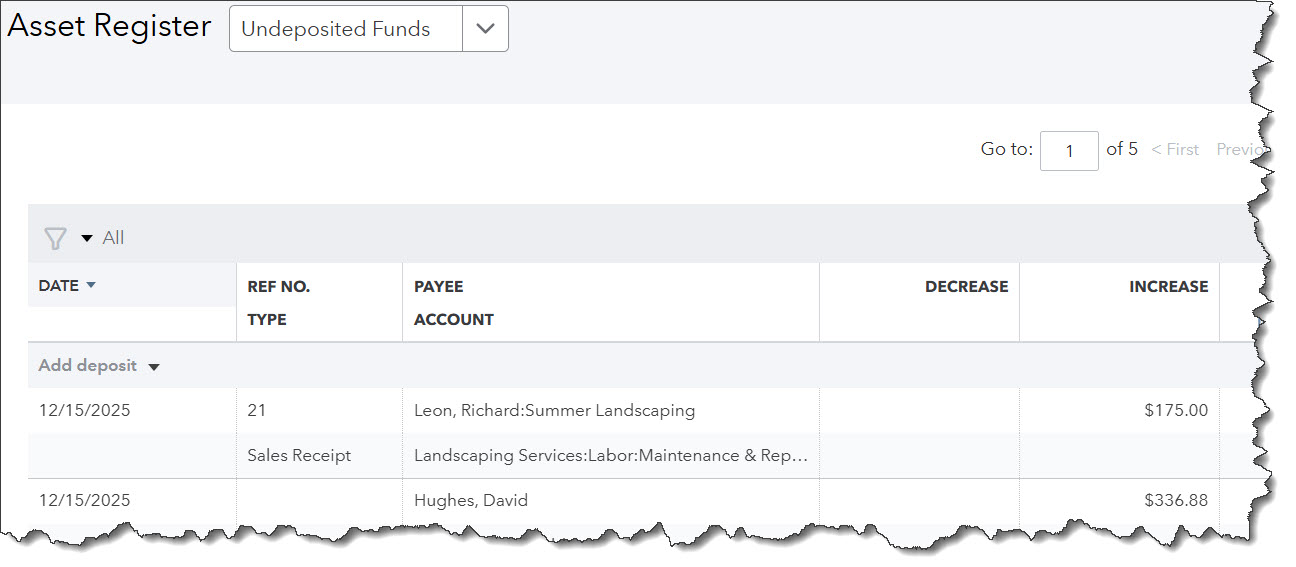
The Undeposited Funds account in the QuickBooks Online If your customer paid you on the spot with a credit card, that payment would be processed in your QuickBooks Payments merchant center. But what about a physical check? QuickBooks Online defaults to the Undeposited Funds account for sales transactions. You can change this, but we don’t recommend it. This account temporarily holds payments—typically cash and checks—that haven’t yet been deposited into your bank.
It’s a good idea to review this account regularly to ensure you’re not leaving funds languishing. Hover your mouse over the Transactions link in the toolbar and click Chart of Accounts. Scroll down until you find it.
To combine the transactions in the Undeposited Funds account to make a bank deposit, click + New in the upper left corner and then click Bank Deposit under Other. Make sure the Account in the upper left corner is set to the account where you want to deposit the funds. Click the box in front of each check you want to deposit (or Select all), then click Save.
To see your deposit information, click Reports in the toolbar, then click Deposit Detail under Sales and Customers. You’ll have to list the deposits individually on your physical deposit slip. Make sure that the slip matches what you see in QuickBooks Online.
If you need help or have questions, feel free to contact us to schedule a consultation. While the process of receiving payments isn’t overly complicated, it’s essential to ensure every payment is recorded accurately and deposited correctly into your bank accounts.


